Here's the Macbook Pro cosy in its box.
... And we're out of the box.

Open the laptop by unscrewing the ten Phillips #00 screws on the underside of the laptop.

Once they are off, the hard drive is easily accessible.
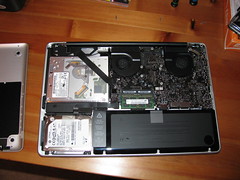
You will need to remove two more screws and a plastic barrier to take out the Hitachi drive. Be careful shimmying the drive out of its slot, the SATA connector doesn't look like it can handle much abuse.

Now remove the support screws from the Hitachi drive using a T6 Torx screwdriver and put them in the SSD.
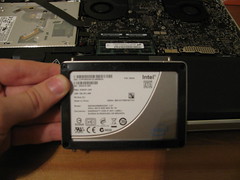
Connect the SSD to the SATA port, and screw back in the plastic support piece.

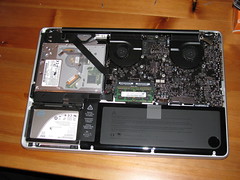
Close her up...

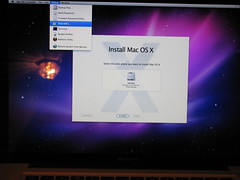
Now you are ready to install OS X! When the computer boots up with the OS X installation CD, the installer won't recognize the SSD because it isn't formatted. To format the drive, go to the Utilities -> Disk Utilities menu, and format the drive using Mac OS X File System (Journaled). Now the installer should detect the drive and let you install OS X.
If you are like me and buy an external enclosure for the Hitachi drive that comes with the Macbook Pro, make sure you buy an enclosure with an SATA connector, not an IDE connector. Sadface. Looks like I'll have to wait another few days for Amazon to ship me a new enclosure.
1 comment:
I have seen bigger.
Post a Comment