Saturday, April 24, 2010

Installing an Intel X25-M SSD in a 15-inch Macbook Pro 2010

After a long voyage from Shanghai, including stops in Anchorage, Newark, and Baltimore, my 2010 15-inch Macbook Pro has arrived! After reading rave reviews about Intel's line of solid state drives, I opted to buy an 80GB Intel X25M SSD and upgrade the drive myself rather than go with one of the potentially 2.5 times slower Samsung SSD offered by Apple. Installation was a breeze, the only thing I needed was a T6 Torx screwdriver and a #00 Phillips screwdriver. Here are the steps I took to install the new drive.

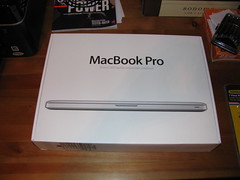
Here's the Macbook Pro cosy in its box.

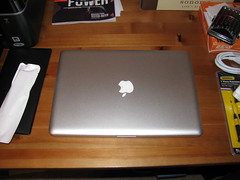
... And we're out of the box.

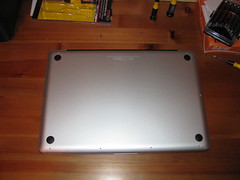
Open the laptop by unscrewing the ten Phillips #00 screws on the underside of the laptop.

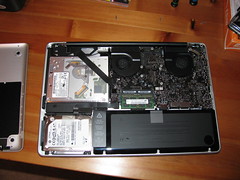
Once they are off, the hard drive is easily accessible.

You will need to remove two more screws and a plastic barrier to take out the Hitachi drive. Be careful shimmying the drive out of its slot, the SATA connector doesn't look like it can handle much abuse.

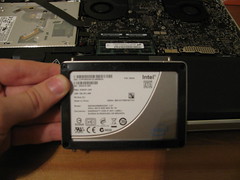
Now remove the support screws from the Hitachi drive using a T6 Torx screwdriver and put them in the SSD.

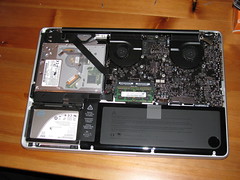
Connect the SSD to the SATA port, and screw back in the plastic support piece.

Close her up...

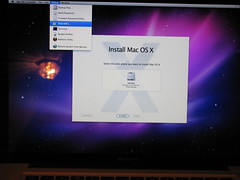
Now you are ready to install OS X! When the computer boots up with the OS X installation CD, the installer won't recognize the SSD because it isn't formatted. To format the drive, go to the Utilities -> Disk Utilities menu, and format the drive using Mac OS X File System (Journaled). Now the installer should detect the drive and let you install OS X.

If you are like me and buy an external enclosure for the Hitachi drive that comes with the Macbook Pro, make sure you buy an enclosure with an SATA connector, not an IDE connector. Sadface. Looks like I'll have to wait another few days for Amazon to ship me a new enclosure.
Saturday, April 17, 2010

Wireless Sleep/Wakeup Issue Resolved for EeePC running Ubuntu 9.10

After upgrading from ubuntu 9.04 to 9.10 a few months ago on my EeePC, I started having issues with my wireless connection. Specifically, when the EeePC would go to sleep, the wireless card would not turn back on when the computer woke up. Moreover, while running:


$ sudo modprobe -r ath9k
$ sudo modprobe ath9k


seemed to turn the wireless card back on, the card was unable to see any networks, and gave a "Device not ready" error in the Gnome toolbar. My solution for the past few months has been to not let the EeePC fall asleep. But today, I finally got fed up with the issue and found a more robust fix. After reading this bug report, I discovered I could get wireless working after the EeePC woke up by running the following commands:


$ sudo modprobe -r ath9k
$ rfkill block wifi
$ rfkill unblock wifi
$ sudo modprobe ath9k


Hooray! To avoid running this series of commands every time the computer woke up, I added them to the EeePC wifi toggle script, "/etc/acpi/eeepc/eeepc-wifi-toggle.sh" in the "radio_on" function. For me this was around line ~59. The final result looked something like this:


...
function radio_on {
echo 1 > $RADIO_CONTROL
sleep 1
# HACK
rfkill block wifi
rfkill unblock wifi
# END HACK
get_wifi_driver
/sbin/modprobe $WIFI_DRIVER 2>/dev/null
...


with my changes between the # HACK / # END HACK comments.

Now wifi starts up and connects to a wireless network when the EeePC wakes up like a champ!

Note: The eeepc-wifi-toggle.sh script is called from /etc/pm/sleep.d/00-eeepc-wifi. The sleep.d directory is where Ubuntu puts scripts that are run when the computer falls asleep and wakes up.